Hammock Camping in Winter
Hammock Camping in Winter
The anatomy of hammocking
A hammock is a very handy and lightweight sleeping option in summer. It goes where angels fear to tread and it is very easy to set up. It also works nicely in winter - but there are a few issues that need tackling first. When you use a sleeping bag in a hammock, the insulation is flatened underneath you, making the underside easily very cold. It is vital to take this into consideration when selecting your gear and put enough insulation between the hammock and the sleeping bag. For us, a blanket together with a warm jacket has provided enough insulation in -20 degrees Celsius (-4 F), but people are different and you need to find out what works for you the best. A modern sleeping pad keeps the hammock in shape quite nicely.

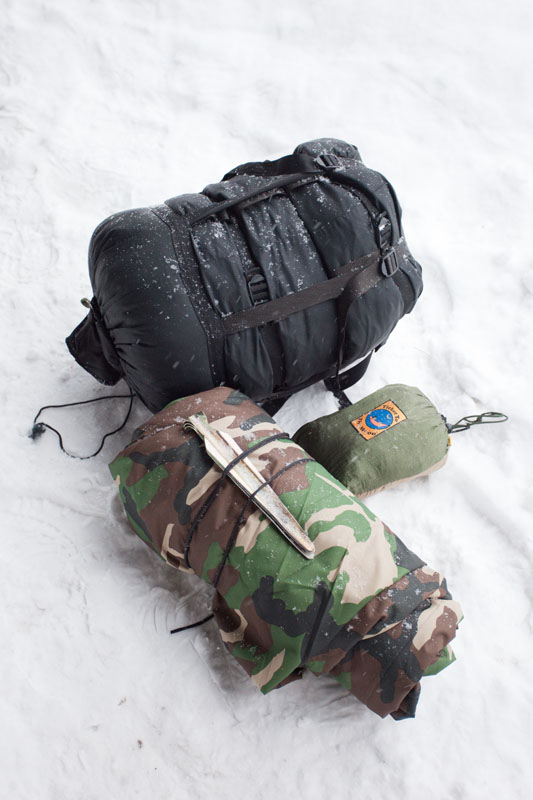
The stuff you need:
- Hammock
- Tarp
- Tent pegs
- Blanket/underquilt/sleeping pad
- Sleeping bag
- Rope
One thing that you need to get used to when sleeping in a hammock is the arched sleeping position. Finding the perfect way to sleep takes a bit of experimenting. You also need to figure out what is the optimum rope tightness for you. Additionally, your shoulders tend to become rounded when lying in a hammock. You can prevent this to some extent by putting a sleeping pad underneath you or using a triangular hammock that has three attachment points.
This article is written for sleeping in c. -10 to -20 degrees Celsius (14 F to -4 F). For our test group, the comfort level with the gear mentioned here was at -20 degrees Celsius (-4 F). However, it is possible to survive in colder weather than that, especially if you increase the insulation underneath you.
Before the trip
Where to set up the hammock
When looking for the perfect spot for your hammock, select two trees that are suitably close to each other. The ideal distance is such that your back isn’t too arched even when you sit on the hammock. For me the optimum distance is six steps. If all the trees are further apart, you just adjust the ropes a bit longer. Try to come up with a distance that is easy to measure even when it is dark.
A smart hiker looks for a spot that is naturally sheltered from the elements. You really want to protect yourself from the wind as much as possible. But at least you don’t have to worry about the wet ground since your ass won’t touch the ground.
Preparations

To have it easy in the forest, you should do as much as possible in advance at home. One of these things is to prepare the hammock ropes if you don’t have whoopie slings.
The other thing that you can do at home is to fix the ropes to the corners of the tarp so that you have fewer things to tie in the camp. Make the ropes long enough to ensure they work in all kinds of terrain. You can also use the ropes to wrap the tarp and the underquilt into a neat package.
On site

Hammock setup
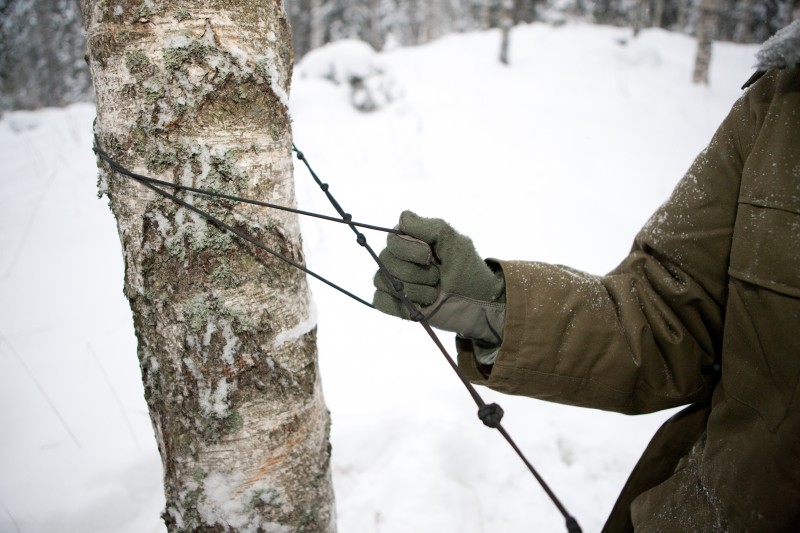
Hanging the hammock is very easy. You loop the hammock ropes around the tree a couple of times and attach the hammock with them. Then you sit on the hammock and bounce on it a few times to tighten the ropes and possibly fall on your ass in the snow. However, falling there at this point is a lot more pleasant than at four am.
It is good to loop the ropes around the tree a few times to ensure that you don’t descend closer to the ground every time you turn.
Making your bed

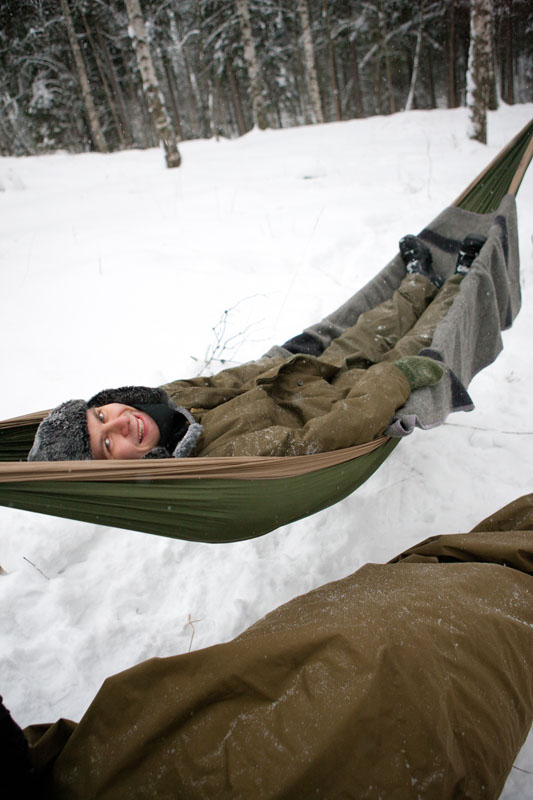
Put the insulation of your choice on the hammock in a way that it won’t roll into a bundle underneath you. If you use a blanket, let the edges hang outside the hammock. It is easy to get into your sleeping bag after this stage as long as yours is easy to open and close. Personally, I enter the sleeping bag while standing and then collapse gently on top of the hammock.
The hardest compression – and thus the coldest spot – is underneath your ass, so you might want to put some extra insulation there. You can further increase comfort by spreading a warm jacket/sweater under your head/back area.
Building the lean-to
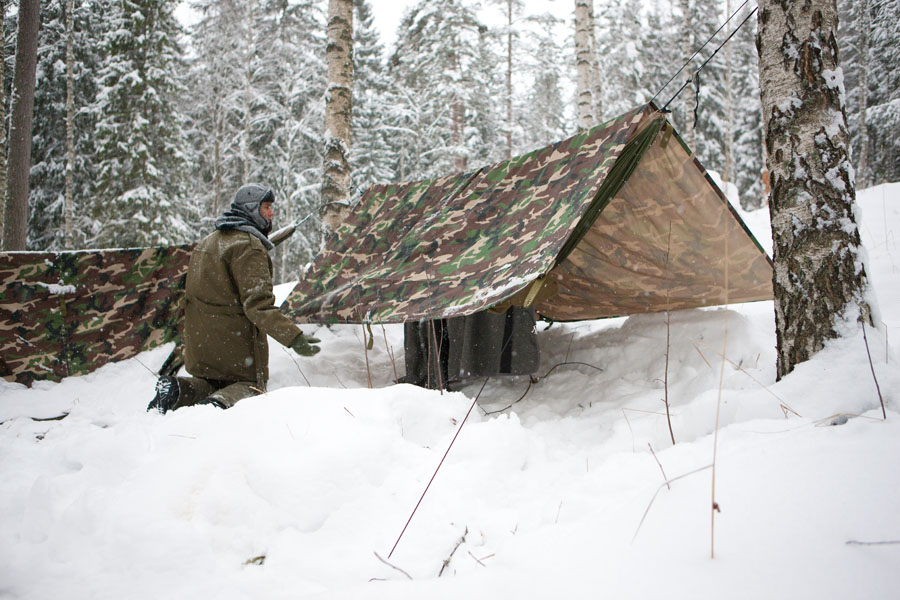
You start building the lean-to by fixing a rope on top of the hammock. (In the summertime, you can use this rope to hang a mosquito net.) Don’t set it up too high. Personally, I put it 20-30 cm (8”-12”) above the upper edges of the hammock. This way the lower edges of the tarp are lower than your ass, and the wind will not attack you that easily.
Throw the tarp over the rope and fix the corner ropes to the ground with tent pegs. Use simple knots that are easy to tie and untie with gloves on.
Marking the campsite
When you camp close to where people move, it is smart to mark where the tarp and the ropes are. I can tell you from experience that a shelter collapsing on top of you in the middle of the night isn’t that fun.
You can easily mark it with small light sticks. Hang a few light sticks from the ropes and sleep peacefully. You can also use orange rope.
A thing or two about comfort
A few clever tips and tricks make hammocking a lot more comfortable:
- You can put the clothes that you want to keep warm inside your sleeping bag. Don’t put any wet outer clothes there however. You will get too much moisture inside.
- It is nice to enter the sleeping bag while standing and then sit on the hammock. If you have a Gore-Tex cover on your sleeping bag, the snow won’t get it wet.
- Hang your headlamp and other important gear on the tarp strings so that you can easily reach them in the dark.
- Eat your dinner in the sleeping bag. This way you get your sleeping bag warm before sleeping. By putting your water bottle inside the sleeping bag, you can prevent the water from freezing.
- Nighttime peeing is always pleasant when camping. Some feel it is handier to stay inside the bag and hop to the nearest bush but it depends on the conditions and your skills. Your friends can have a few laughs at least.
Written by: Sampsa Kuronen